Server Side SDKs
Appwrite’s server side SDKs provide a way to extend Appwrite and build our own custom services on top of it as server side integration has elevated permissions and access. It is mostly useful for setups, configurations and extending Appwrite to build your own custom features on top of it. It can even be used with Appwrite’s Functions to extend and add new functionalities. As it uses API keys wit elevated access that is given to the key, you must be careful not to expose such services to public. With permitted keys, they can have unrestricted access to resources on your Appwrite instance. We will look into details in the next steps how to allow only needed permissions to an API key so that even if it’s exposed only the resources it has access to is affected.
API Keys
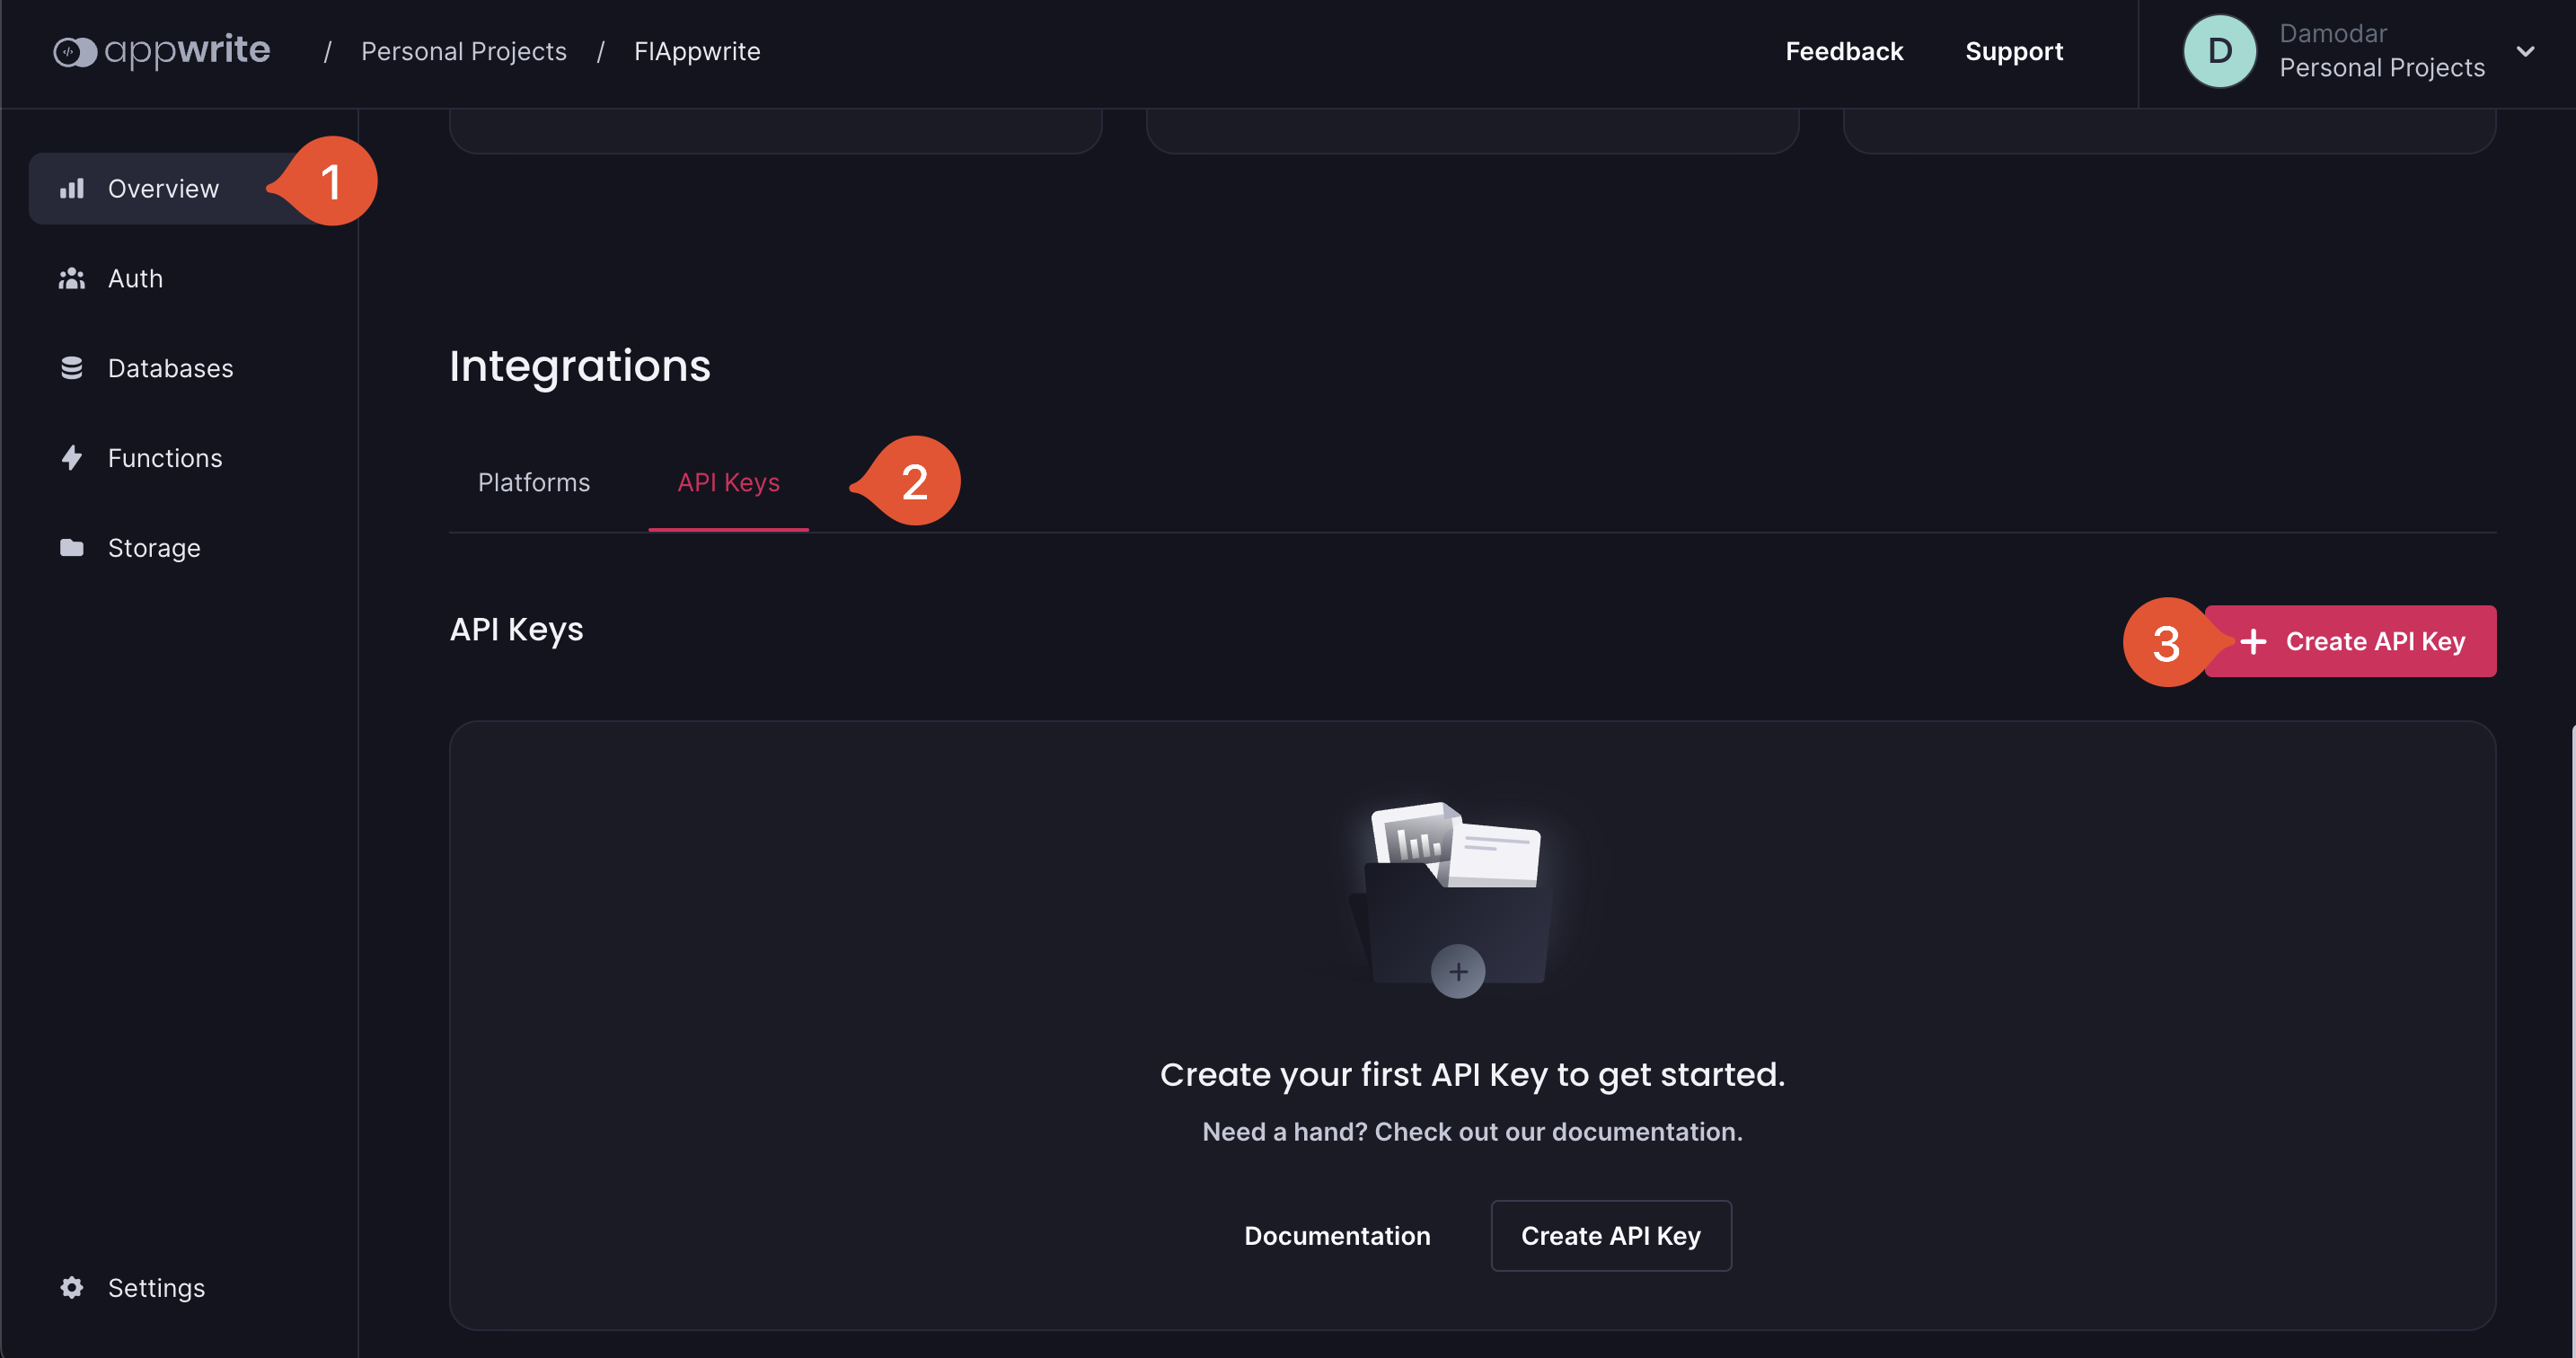
So the first thing you need to do to integrate with a server side SDK is to get the API key. API key are per project, so you can get the API key from your project overview. To get the API key, login to your Appwrite console and select the project of your choice.
Once on the project overview, if you scroll to bottom you will find Platforms and API Keys, two options. We will learn about platforms in next section. Click on the API keys and then Create API Key button.
It will load a wizard where you can give the recognizable name (write the name based on where you are using your key so that it’s easy to figure out) and expiration date for the API Key.
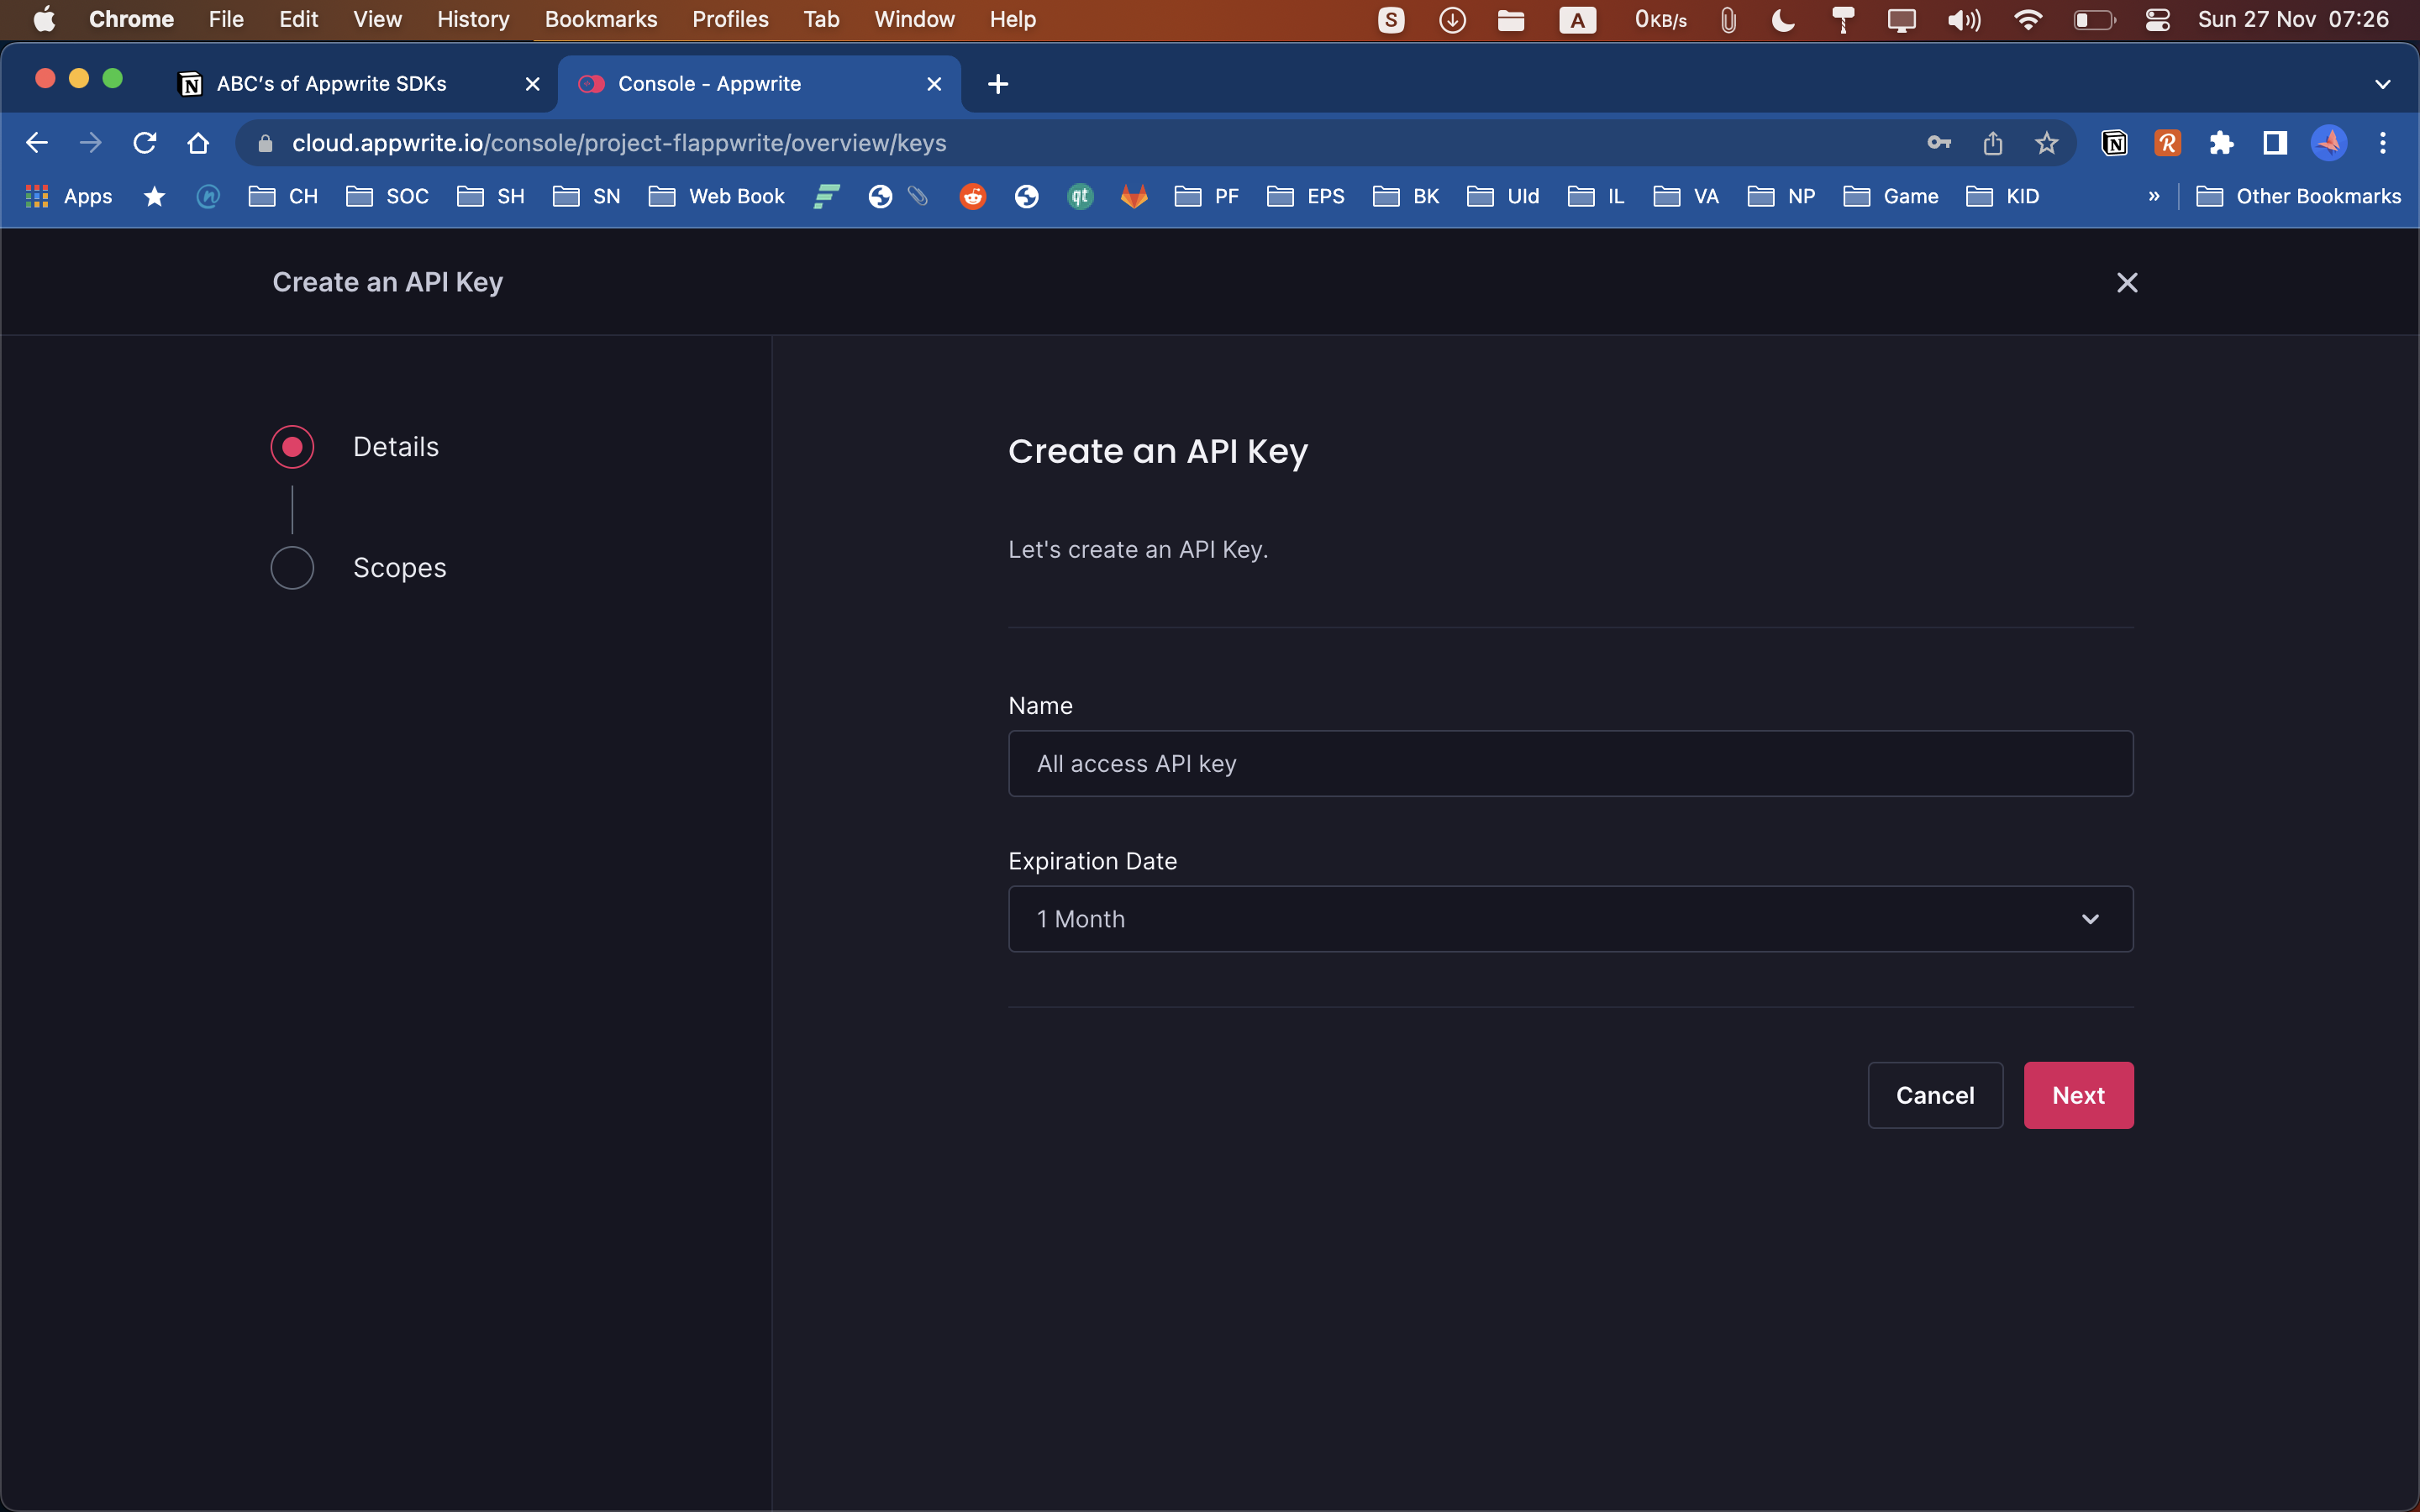
Then click on Next button and select the scope of the API Key. Only the given scope is accessible using that key.

For example if you give your key only databases.read scope then the key can only read databases and do nothing more. It is always recommended to give keys only the limited access that is required by our application. We can always edit and update the access the key has. Once you select the scopes and click on the create button the API key will be created and you can get it’s secret and other details.
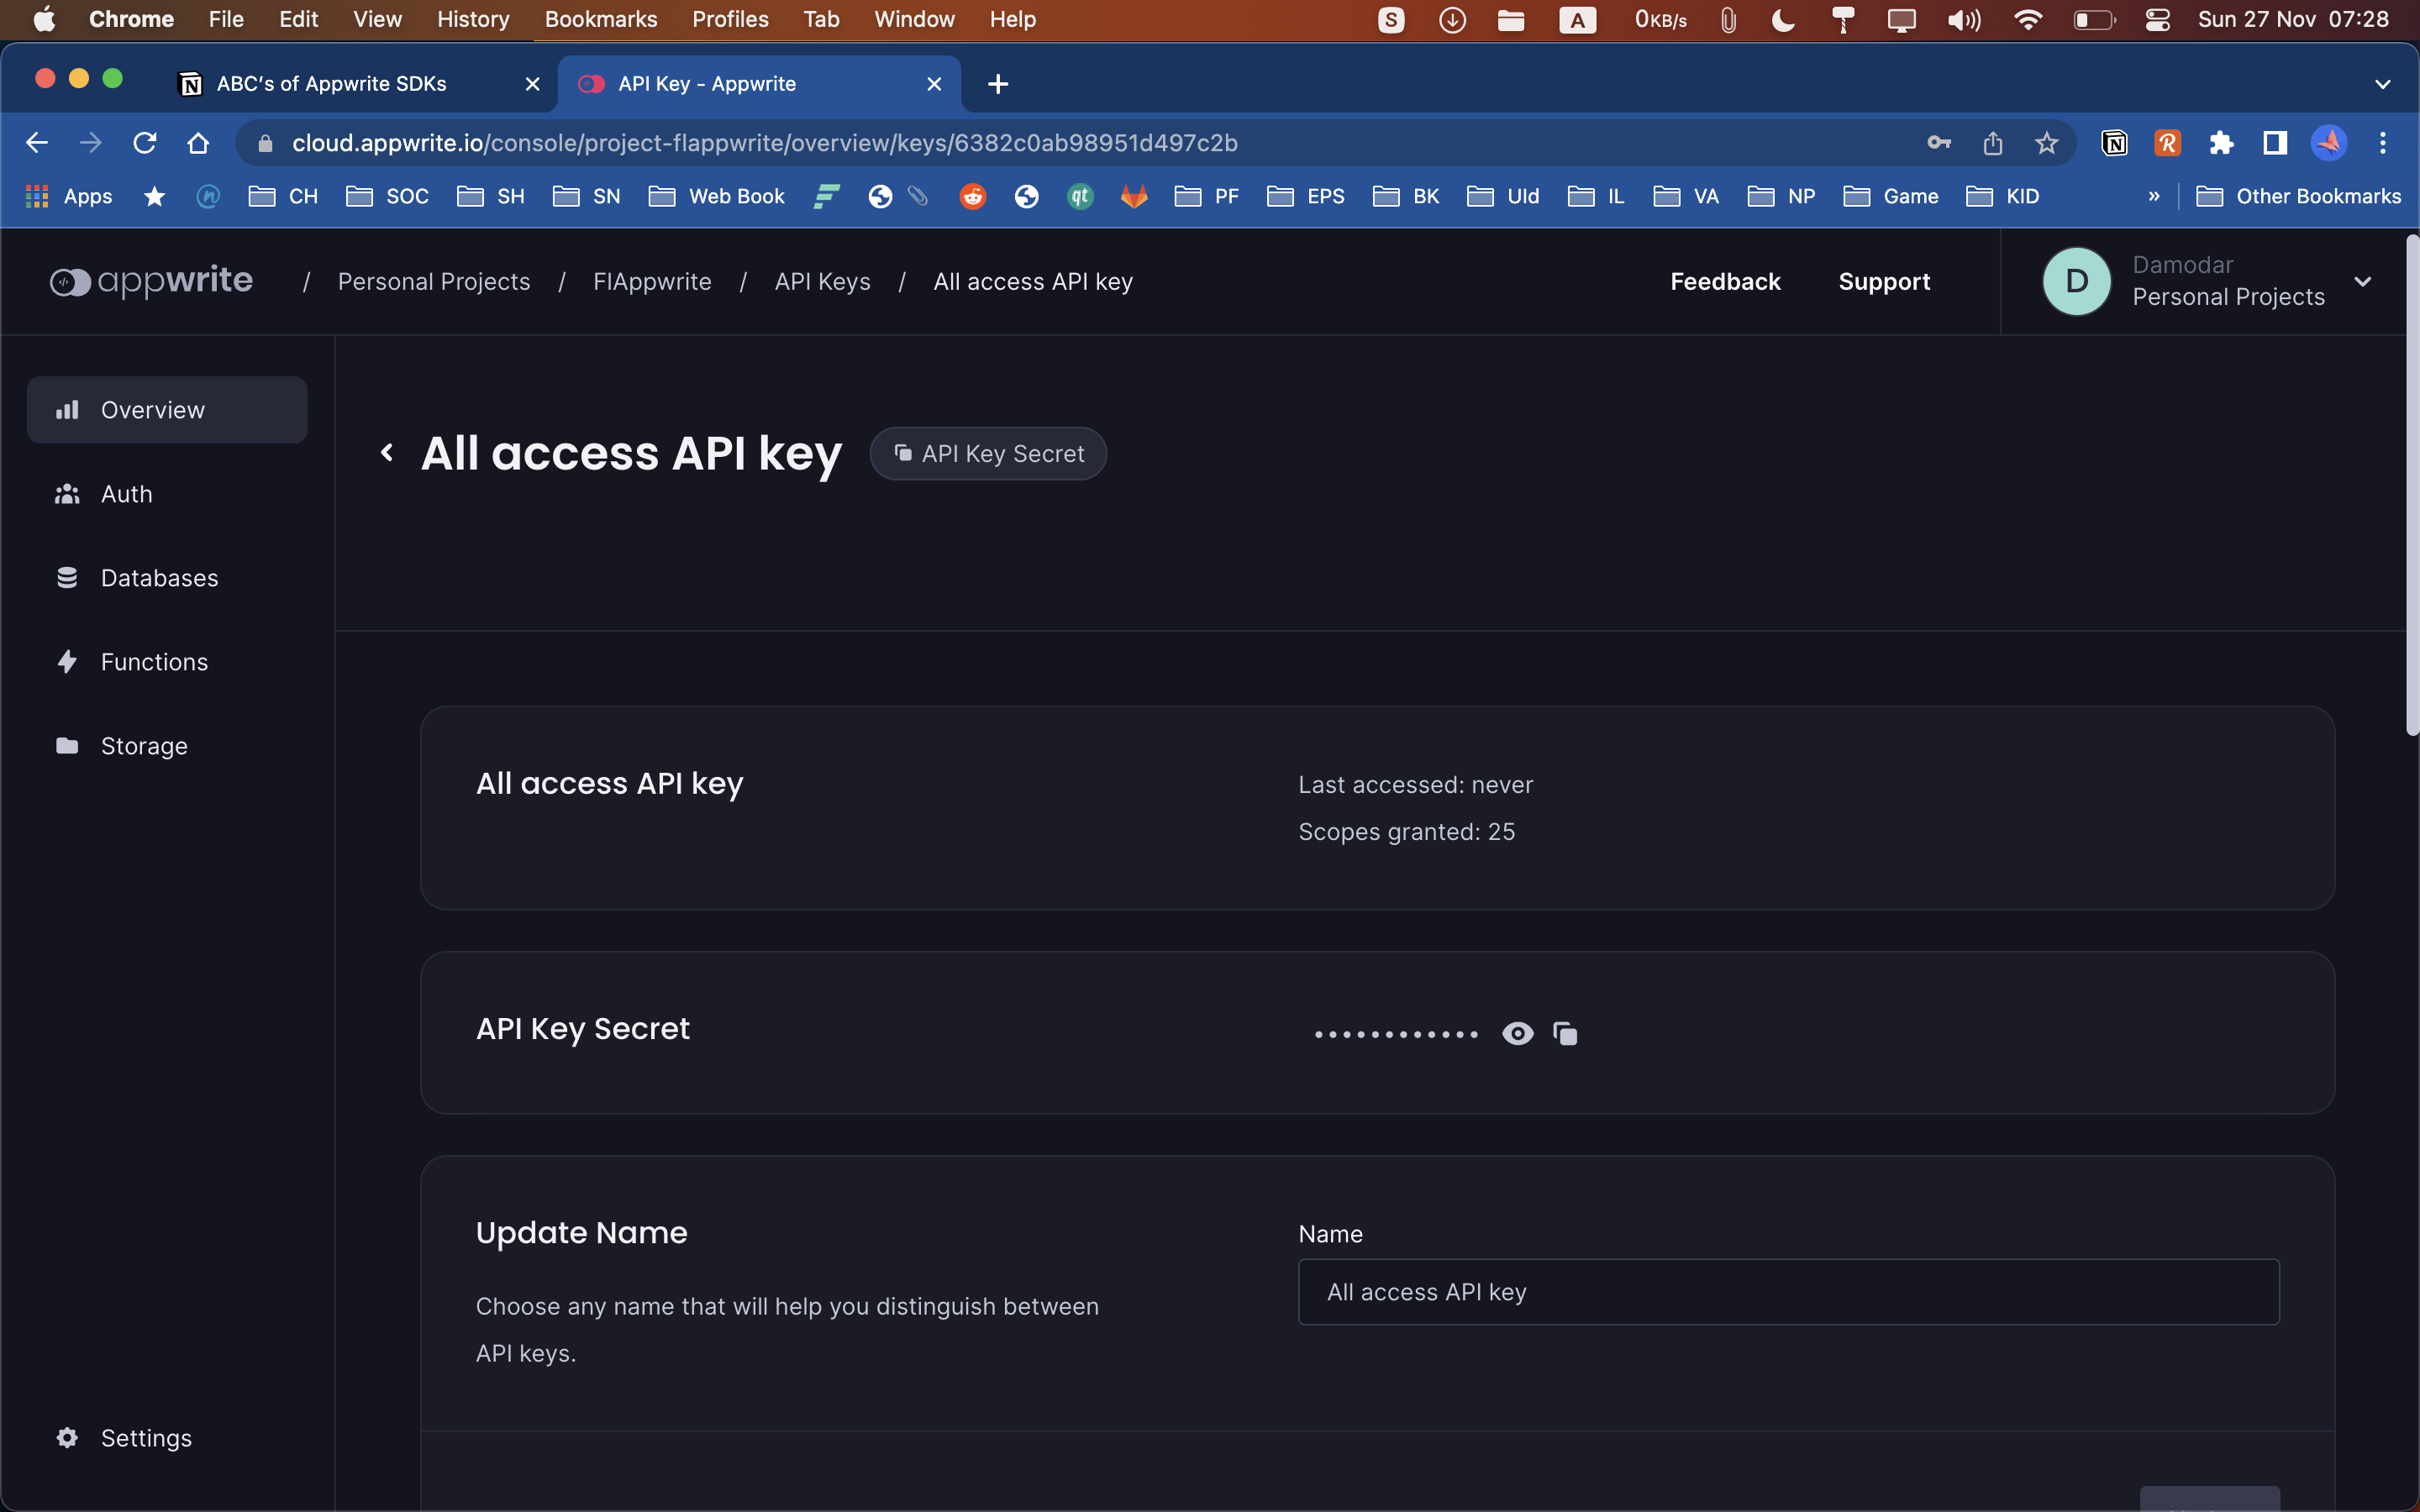
To view the actual API key secret, click on the eye icon next to the API Key Secret. Or you can directly copy to clipboard by clicking on the copy icon.
Once you have the key secret, you can now install and initialize Appwrite’s server-side SDKs and connect to the server. We also need the server endpoint and project id so that our SDK can connect to the correct server and correct project.
Adding Dependency
Appwrite provides officially supported server side SDKs for various platforms including NodeJS, Dart, Python, PHP, Kotlin, Swift and more. You can find the name and details of the SDK for the platform of your choice from https://appwrite.io/docs/sdks in the Server SDKs section. Let’s see couple of examples.
Node JS SDK
In order to install Node JS SDK you can directly run the following command from the terminal in the root of your NodeJS project.
npm install node-appwrite --saveOr, if you like you can manually add the node-appwrite under dependencies in your project’s package.json file. You can find the details of latest releases on the SDK’s GitHub repository.
"dependencies": {
    "node-appwrite": "<version>",
}
Dart SDK
In order to install Dart SDK, you can directly run the following command from the terminal in the root of your Dart project.
pub get dart_appwriteOr, if you want to manually add, you can do so by adding dart_appwrite under dependencies in your project’s pubspec.yaml file as the following. You can find the details of latest release on the SDK’s GitHub repository.
dependencies:
	dart_appwrite: <version>
Initializing and Using SDK
Once you install the SDK, next before using, you need to initialize it with endpoint, project and API Key. To get the endpoint and project head over to settings page for your project in the console. There you can find the project ID and the API Endpoint.

Dart SDK
import 'package:dart_appwrite/dart_appwrite.dart';
void main() async {
Client client = Client()
.setEndpoint('http://[HOSTNAME_OR_IP]/v1') // Make sure your endpoint is accessible
.setProject('5ff3379a01d25') // Your project ID
.setKey('cd868c7af8bdc893b4...93b7535db89')
.setSelfSigned(); // Use only on dev mode with a self-signed SSL cert
Users users = Users(client);
try {
final user = await users.create(userId: ID.unique(), email: ‘email.com’,password: ‘password’, name: ‘name’);
print(user.toMap());
} on AppwriteException catch(e) {
print(e.message);
}
}Node JS SDK
const sdk = require('node-appwrite');

let client = new sdk.Client();

client
	.setEndpoint('https://[HOSTNAME_OR_IP]/v1') // Your API Endpoint
	.setProject('5df5acd0d48c2') // Your project ID
	.setKey('919c2d18fb5d4...a2ae413da83346ad2') // Your secret API key
	.setSelfSigned(); // Use only on dev mode with a self-signed SSL cert

let users = new sdk.Users(client);
let promise = users.create(ID.unique(), 'email@example.com', 'password');

promise.then(
	function (response) {
		console.log(response);
	},
	function (error) {
		console.log(error);
	}
);
If you look at the codes above for Dart and NodeJS they look pretty similar. Apart from the subtle difference in the syntax of the language itself, the SDK is pretty similar on how they are initialized and use. That’s the beauty of Appwrite’s SDK, they are consistent across platforms and languages as far as it can be without hurting the platforms norms.